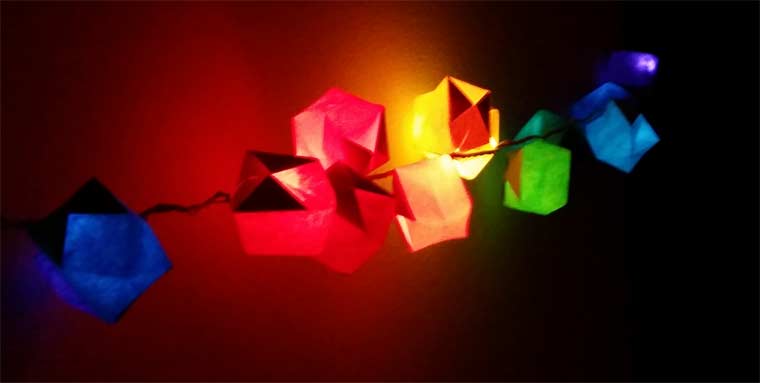


Need colored lights quick to match a party? Forgot to decorate for the holiday, and the holiday is already here? Learn how to make paper lanterns, and you can make DIY lantern string lights to re-purpose your Christmas lights.
Did you make origami paper waterbombs as a kid? Keep those waterbombs dry, and they make perfect paper lanterns to slip onto your Christmas lights. The hole in the end of the lantern is a perfect size to hold on to the base of LED string lights.
How to make paper lanterns
Start with a stack of square paper. You could buy origami paper, but I just used a paper cutter to cut colors of printer paper that I already had on hand. You can tear the paper square, but the tidy cut edge looks nicer. If no one is going to be looking closely, though, use what you have available.
I put the stack of paper an a wooden cutting board next to the television. While the family watches movies, I can fold a big stack of paper lanterns.
Step 1: Four Squares
Fold your square paper in half. Unfold, then fold in half the other direction. You have four squares or your original square quartered.
Step 2: Diagonals
To make the next step easier, I then flip my squared paper over so the folds go toward the board.
Fold the square corner to corner on a diagonal. Unfold, then fold the other corners together.
Step 3: Triangle
Keeping your square with a straight side toward you, tuck the sides in until the opposite straight side folds down to meed the first. With sides folded in, you have a triangle.
Step 4: Fold Wings
Turn your triangle with the straight side away from you and a 90 degree (square) corner toward you. Fold one acute (top, smaller) corner down to meet the square corner. Fold the other acute corner down to meet the square corner.
Step 5: More Wings
Flip the paper over and fold the corners from the other side the same way. You end up with a small square.
Step 6: Fold Sides
Find the corner that is the center of the paper, the corner that is not open at all. Turn that corner away from you. Each side should have two flaps.
Fold one side flap corner toward the center, with the corner meeting the paper fold in the center. Fold the other side flap corner to meet the first in the center.
Step 7: Other Sides
Flip the paper over and fold the side flap corners the same way.
You have the basic shape of your paper lantern finished.
Step 8: Corners Up
The next several steps secure the free flaps by tucking them in. This is what makes your lantern a sturdy balloon.
Find the end with two free flaps toward the bottom. Fold each flap up against the edges of the side flaps from the
previous step.
Turn the paper over and fold the two free flaps on the other side the same way.
Step 9: Corners Half
Pull the flaps back down toward you, then fold the end straight up toward the center of the lantern. Fold all four flaps the same way.
Step 10: Corner Tuck
You are going to tuck in this flap. This is the step to be careful. You may need to help children the first time they try it.
Fold the half flap at its base. Bend the tip toward the base. Find the space between the layers of the side corner, and push the tip between them.
You will need to nudge the corner in, since it's a perfectly tight fit. Tuck all four half flaps.
Step 11: All Tucked
Once tucked, you are done folding. This isn't so much a step as an admiration of your work.
Step 12: Blow Up
Find the open end, hold the sides gently, and blow. Getting a seal to blow up your lantern like a balloon isn't easy with paper, but you will find your groove once you've made a dozen.
The same hole you used to blow up the balloon fits over your light bulb and stays snug around the base where base meets wire.
Keep folding until you have covered your whole string of lights.
Add Color!
My examples use colored paper over warm white LED lights. It's easy to change paper lantern colors by holiday if you use warm white or cool white lights.
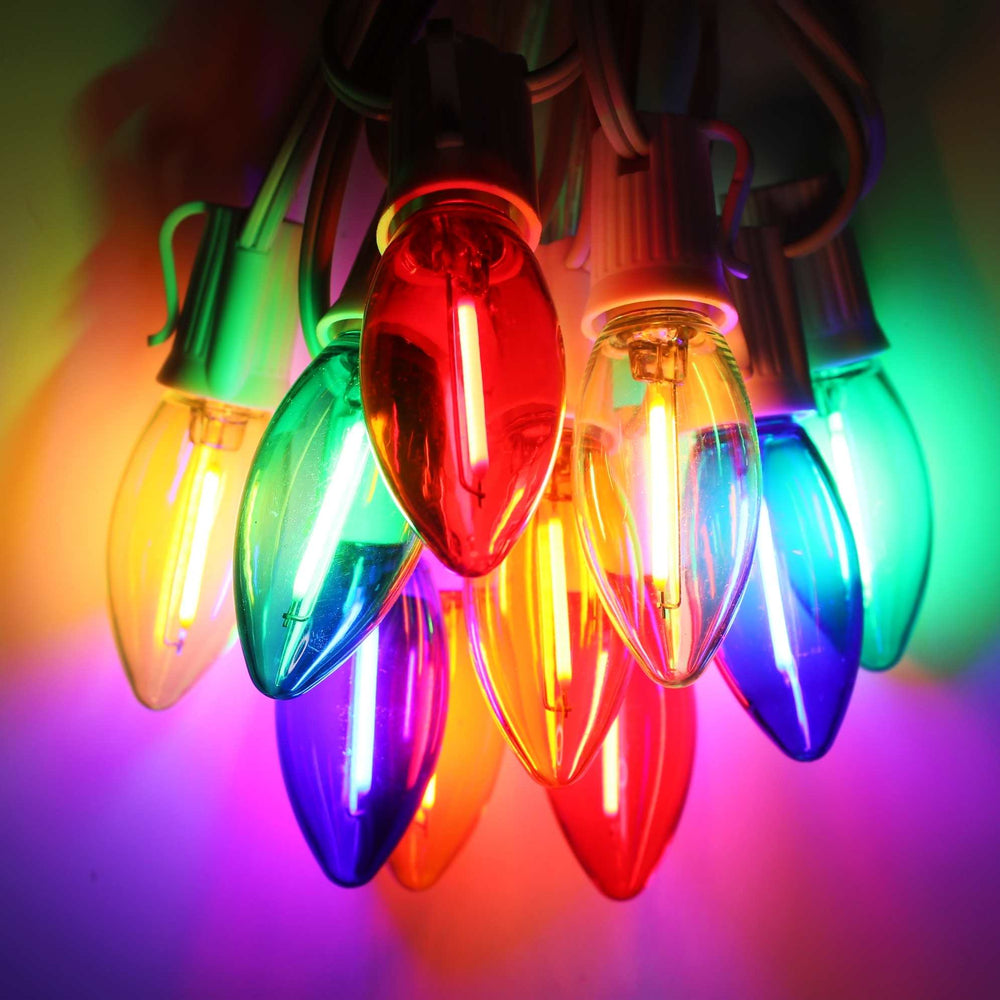
You can also use colored lights with white or colored lanterns.
Especially if you have children who are old enough to make origami paper lanterns themselves, you can experiment to find combinations you love.
Which are the best lantern string lights?
LED lights are cooler to the touch, so they are perfect for paper lanterns. I like twinkle lights for paper lanterns, since it gives that subtle feeling of a flame. My favorite are the twinkle lights, but you can find a big variety of LED lights to meet every need at Christmas Light Source. Just make sure the bulbs are small enough to fit inside the small hole of the paper balls.
If you are using traditional incandescent lights and your bulbs run hot, limit the time you leave the lights on, and don't leave them operating unattended.
If you need paper lantern lights for single paper bags, like traditional luminaries or luminarias, try battery powered LED lights. Batteries mean you don't need to worry about stringing your lights from a power source.
Store your paper lanterns for next year
After you pop the paper lantern off the light bulb, you can fold it flat again for easy storage. Gently pull the ends (where the hole is and the opposite end) and tuck the sides in as you pull, flattening out any folds as you go.
You might find that the hole has enlarged, making the paper lanterns more likely to fall off the lights. If the lights won't be touched much, that shouldn't be a problem. If you need a string of lantern lights that won't come off, at a wedding or a big party, you can use a small amount of hot glue right at the base, near the wire (not near the bulb). That makes it difficult to save your lanterns for later.
Paper lanterns on Christmas string lights make a bright, colorful decoration for a celebration or for every day.

|
About Lori Lori is a maker, writer, and contributer to Celebrate Lights. She left academia behind to hack a home life---home business, homebirth, homeschool. Since Christmas Light Source doesn't sell black lights, her favorite lights are twinkling LEDs. |


